

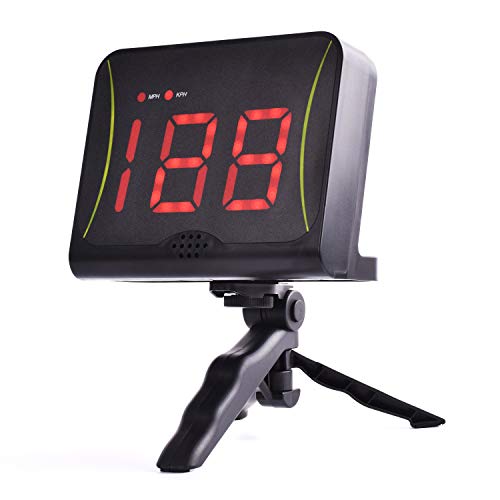
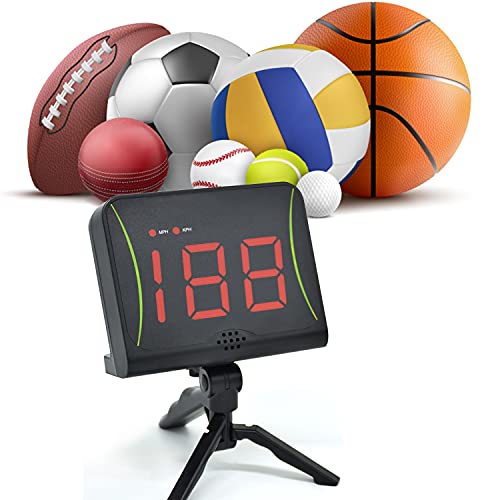


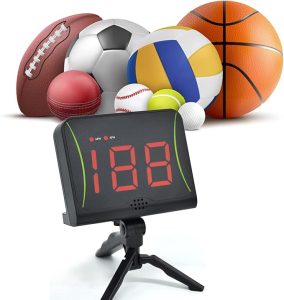
- Meça sua velocidade de arremesso em esportes como futebol, handebol, hóquei no gelo, beisebol, golfe ou tênis. Aviso: nunca atire diretamente no dispositivo. Sempre tenha uma rede ou outra proteção colocada na frente do sensor de velocidade esportivo. Siga as instruções no manual fornecido na caixa.
- Leve e fácil de usar. Ao contrário da maioria dos sensores de radar, este produto não requer uma segunda pessoa para apontar para o objeto. Basta colocá-lo atrás do gol ou da rede. Mede velocidades de até 199 km/h (ou 124 mph).
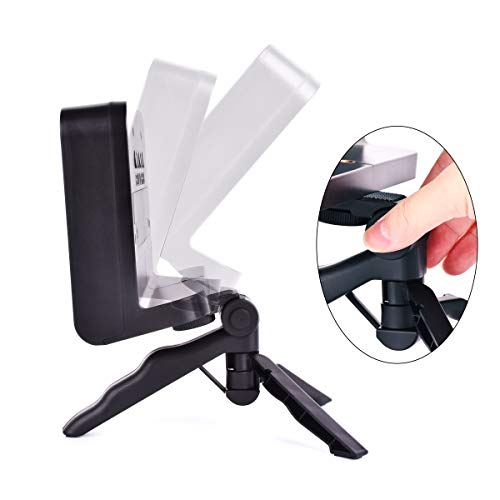
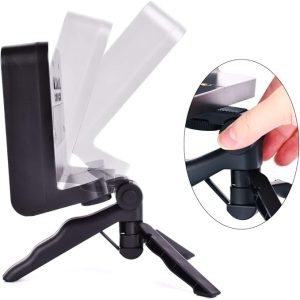
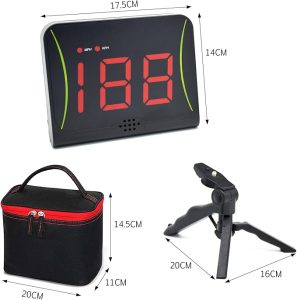
- O tripé incluído torna possível colocar o sensor em muitas superfícies diferentes. Também permite ajustar o sensor de velocidade esportivo para diferentes ângulos para uma leitura mais precisa.
- O visor LED brilhante é fácil de ler à distância. Alto-falante com uma voz pré-gravada anuncia a velocidade da sua foto. Armazena a velocidade das suas últimas dez tacadas.
- Economia automática de bateria prolonga a vida útil das baterias quando o dispositivo não está em uso. Requer cinco pilhas AA. Observe que as pilhas não estão incluídas.
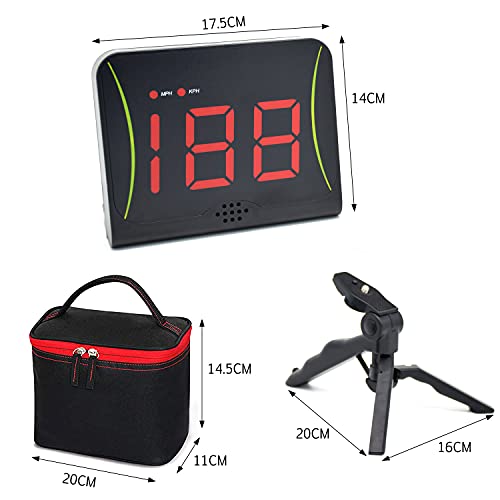
- Uma bolsa prática está incluída para transporte conveniente.


The team I'm with is at the Canadian Senior Amateur level. At this level, the players are often as knowledgeable as the coaches, so it's a team effort at practice and this will become a great tool for the team to improve. The pitchers will probably be doing most of their own monitoring. That's why I chose this model.
It measures up to 199 km/h (150 mph) so there is no issue there, obviously. It also has a large, bright screen readout that can easily be seen from the 60'6" and beyond. Therefore, the pitcher, pitching coach or teammate can easily record speed base and speed increase during training with the radar placed behind the catcher (and a screen).
Something I just thought of, but hadn't tried yet, is batting exit velocities. The top MLB batters drive the ball at speeds up to 150 km/h (almost 95 mph), so it will be interesting to see how it responds at those speeds. I'll be attending some indoor training in mid-to-late January. Although it is with younger players, I should be able to get some measurements and figure out the best angles and distances for positioning the radar. It was quite easy with pitching, but batting may require some more trial (and error).
As a rule of thumb to get started, try to position the radar directly behind the object, with a permanently clear line of sight, and not more than 12 meters or 40 feet from the object's destination. You do not have to be less than 40 feet from the pitcher, only the area in front of the catcher. The closer to the destination you can position the radar without creating obstructions, the better and more consistent results you will receive. I just connect mine to my tripod and about 4 to 5 feet off the ground (depending on clear line-of-sight, place a net 6 feet from behind the catcher, and then I place the radar as close to the net as possible without putting it in the line of fire (net stretches) and its ready to go. Set it and forget it as they say.
It’s not only for baseball. The documentation indicates Soccer, Lacrosse, Tennis, Golf and even Hockey, but there's potential for anything with an athlete and/or projectile involved. I'm eager to head to our local Disc Golf course when the weather gets better and see how it handles flying discs. I've recorded a lot of videos for sponsored, local players for their online presences and I'm excited the include exit speeds in some videos.
It's not just for projectiles either. The radar has a from-rest mode which will allow you to measure objects like runners/walkers moving as low as 5 km/h (3 mph). The other Action-Mode will allow you to measure starting at 40km/h (25 mph), this eliminates the device picking up the movement of the athlete and allowing it to focus on the projectile. As an example, on a soccer kick, the device will pick up the ball, but not the athlete approaching the ball to kick. Once you put this into practice, you'll surely understand this mode is essential for "anything with a ball," or puck!
The unit requires 5 AA batteries (not included); The hand mount shown in Pic1and 3 is included, but Tripod in Pic 2 is an extra purchase, but well worth it. The device will mount directly to MOST popular (and inexpensive) Tripods.
Not sure if there is anyway to fix it. Do durability is very limited on this product.